/* Used to create bullet points on CMS lists by adding matching class to each item */

Fronius Wattpilot Charger Configuration

This page contains instructions for configuring
Fronius
chargers with Charge HQ
Please refer to our
Fronius
charger listing for details on supported models and charger specifications.

Firmware Versions

The following firmware versions have been confirmed to work with Charge HQ.

  • 40.7 or higher

Charger Firmware can be updated via the Fronius Wattpilot app under the Internet tab.

Safety Advice

Always follow the safety instructions provided with your charger. Always use a qualified electrician where required.

When configuring the charger, ensure that the maximum charge Amps remain correctly configured to match the circuit the charger is connected to. This step should be completed by the installer of the charger.

Step 1 - Obtain an EVSE ID from Charge HQ

  • Open the Charge HQ app
  • Go to Settings tab -> My Equipment -> Connect your Smart Charger
  • EVSE ID: this will be entered into your smart wall charger, note down that value displayed on your app or copy it to the clipboard. You will use this in Step 5.
  • Min and Max Power (A): Update these if you believe they are different to the default settings.
  • Click Submit

Note: The EVSE ID is a unique identifier for your charger, it cannot be the same as any other OCPP charger that is connected to Charge HQ. For this reason Charge HQ will provide you with a known-unique value that you can set in your charger.

Step 2 - Commission Charger

Follow the Fronius guides to commission the charger, ensuring that:

  • You have installed the Fronius Wattpilot app
  • The Wattpilot charger is visible in the app
  • The charger is connected to the Internet.

Step 3 - Setup OCPP

In the Fronius Wattpilot app

  • Click Internet tab
  • Click OCPP menu
  • Toggle OCPP 1.6J to on
  • Address of OCPP server: ws://ocpp.chargehq.net/ocpp16/EVSEID
  • Where EVSEID is replaced with the value obtained in step 1
  • Phase assignment: default settings
  • User-defined certificate: disabled

Step 4 - Confirm communication with Charge HQ

Lastly - confirm that the charger is connected to Charge HQ.

In the Charge HQ app, navigate to Settings → My Equipment → Smart Charger

Confirm that the Connection State reads “Online”

Step 5 - Confirm ability to control charging

  • From the home screen of the Charge HQ app, select “Charge Now”
  • Confirm that the LED lights on the charger and the display on your EV indicate the vehicle is charging.
  • Confirm that charging is occurring at the configured rate (Amps)
  • From the home screen of the Charge HQ app, select “Stop”
  • Confirm that charging of your EV has stopped.

Step 6 - Continue Charge HQ configuration

Charge HQ can now control your Fronius Wattpilot wall charger via Charge HQ.

See our Step by Step setup and other app configuration guides for assistance with configuration of the rest of the Charge HQ app.
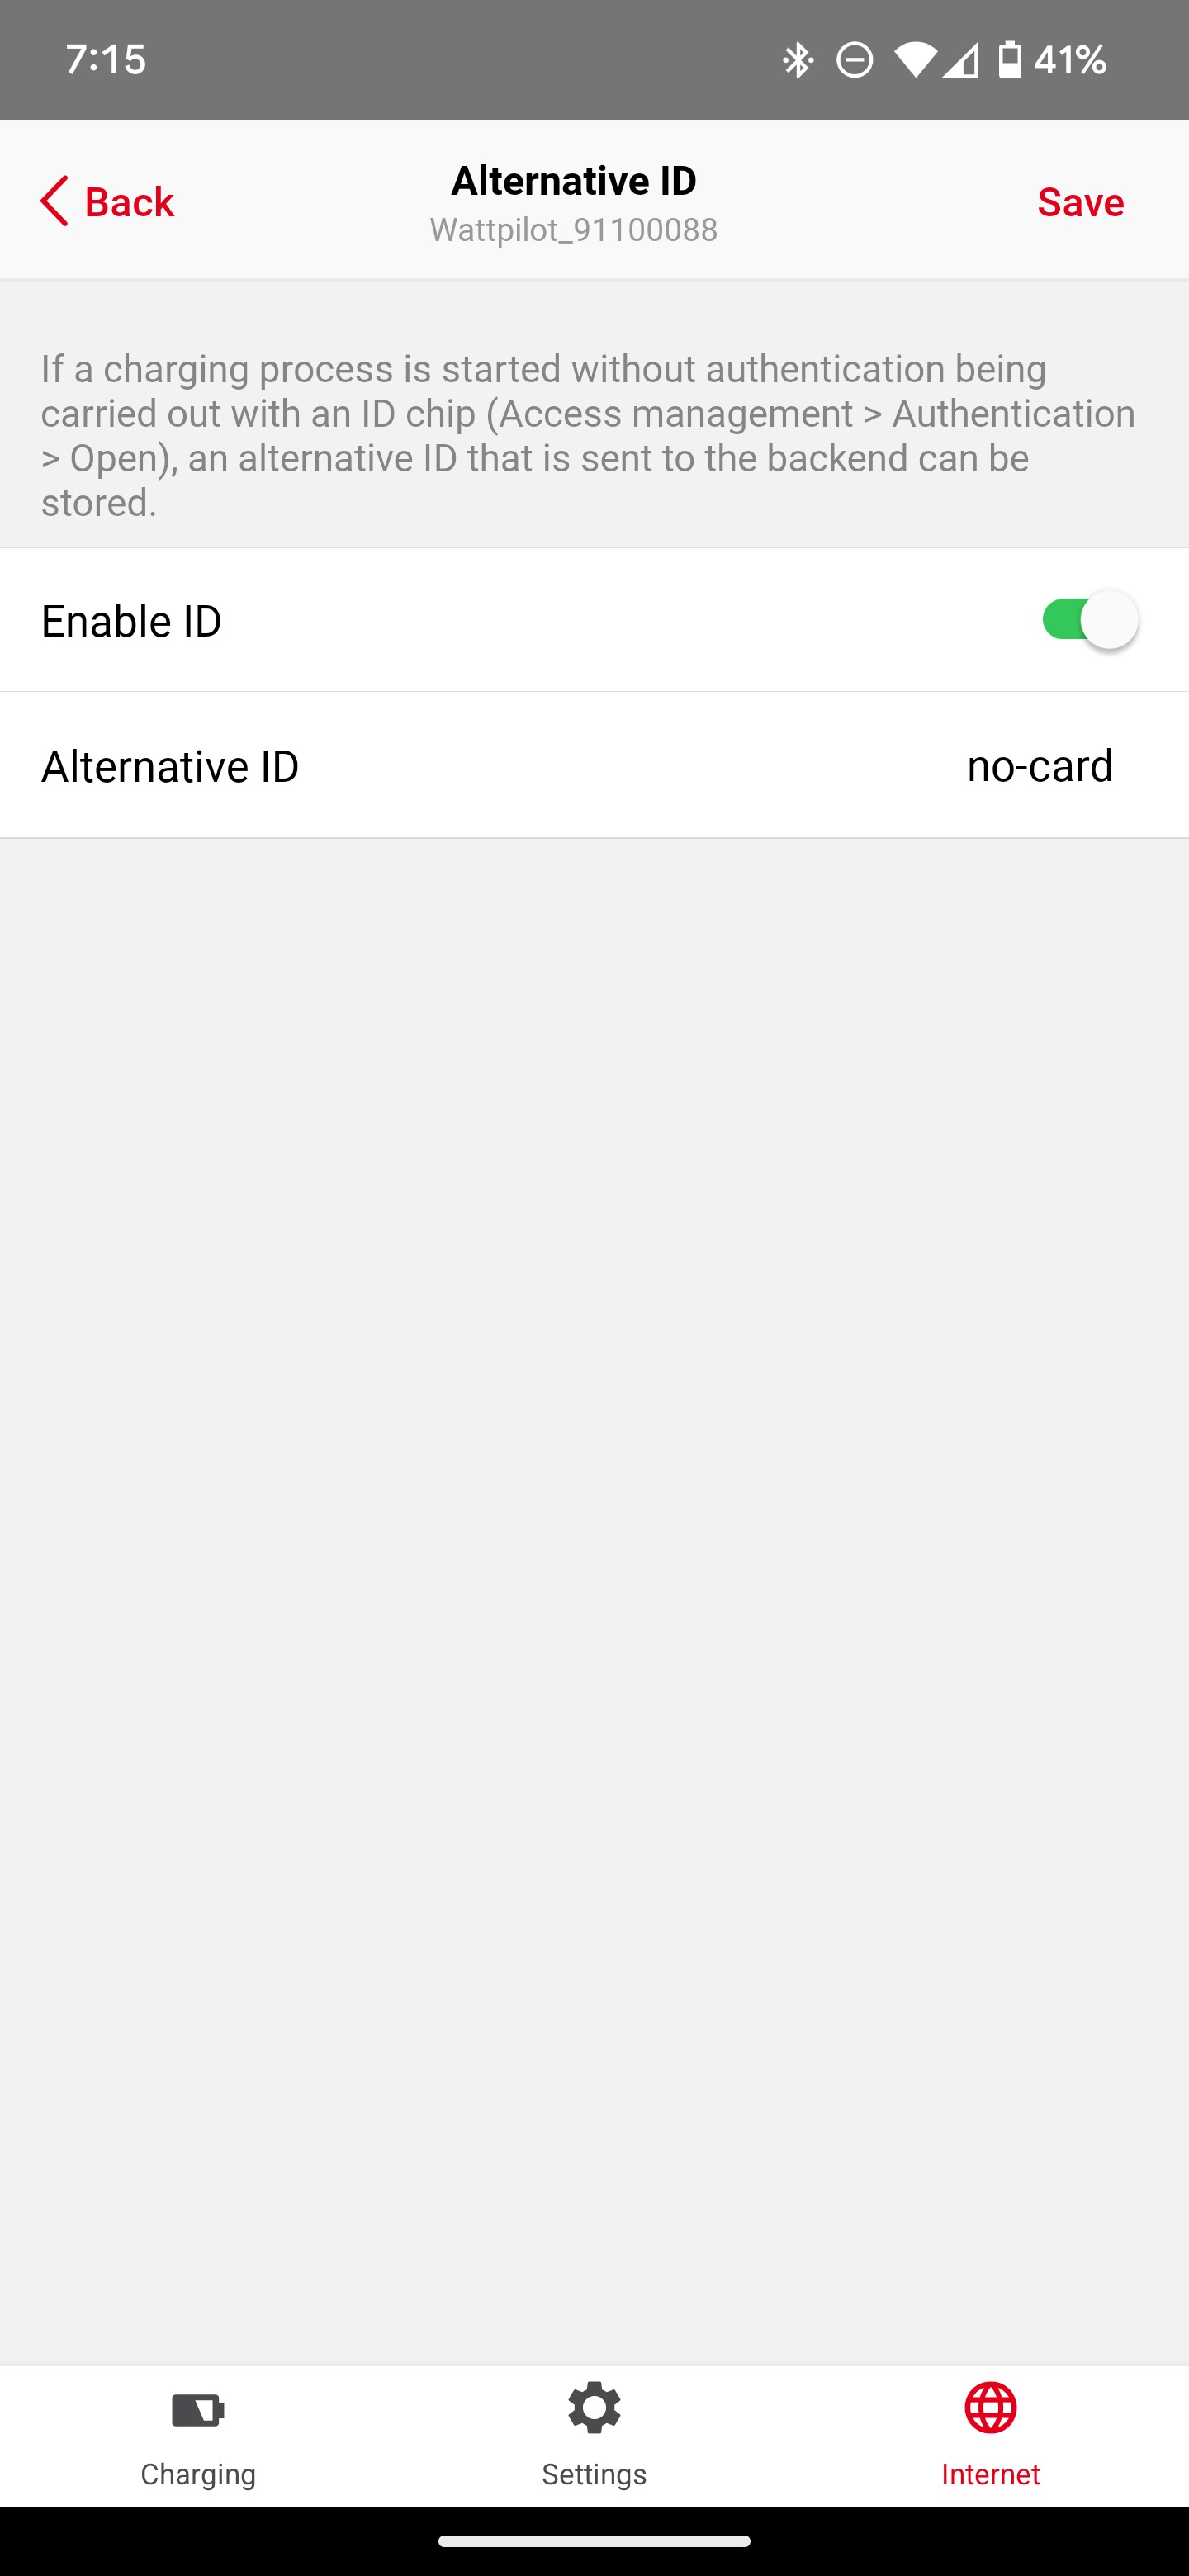
If you are still having trouble connecting your charge to Charge HQ, please see our OCPP charger configuration guide for troubleshooting suggestions.

Related articles

No items found.